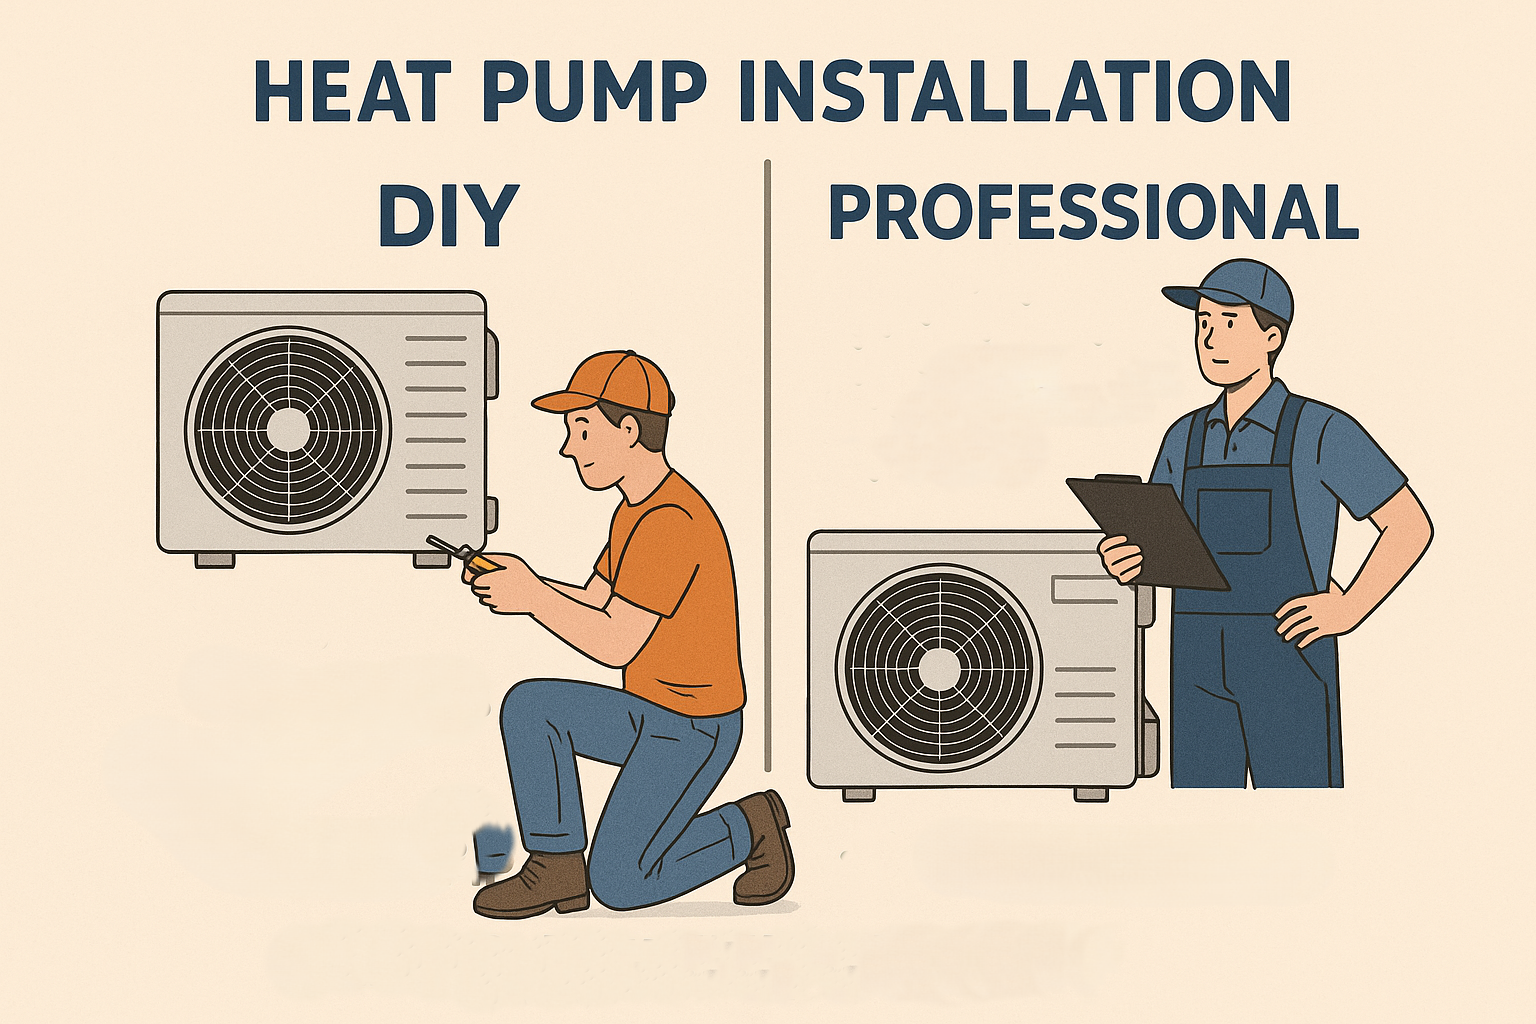
Heat Pump Installation Guide: DIY or Professional? (Plus How to Find the Best Contractor)
Are you considering installing a heat pump in your home? With rising energy costs and generous tax incentives available through the Inflation Reduction Act, heat pumps have become an increasingly popular choice for efficient home heating and cooling. However, one crucial question remains: should you install it yourself or hire a professional? This comprehensive guide will help you make an informed decision and ensure your heat pump installation goes smoothly.
Understanding Heat Pump Installation Options
When it comes to installing a heat pump, you have two primary options: DIY installation or professional installation. Each approach has its advantages and disadvantages, and the right choice depends on your specific circumstances, skills, and the type of heat pump you're installing.
DIY Heat Pump Installation
DIY heat pump installation has become more accessible in recent years, particularly with the introduction of specialized DIY kits from manufacturers like MRCOOL. These kits are designed specifically for homeowner installation and include pre-charged refrigerant lines that don't require specialized HVAC tools or knowledge.
When DIY Installation Might Be Appropriate
DIY installation could be a viable option in these scenarios:
- You're installing a ductless mini-split heat pump (these are generally easier for DIY than ducted systems)
- You have significant home improvement experience from other complex projects
- You're replacing an existing heat pump rather than converting from a different heating system
- You're using a dedicated DIY kit from a manufacturer like MRCOOL
- You're comfortable with basic electrical work (or willing to hire an electrician for just that portion)
- You have time to research and follow manufacturer instructions precisely
Pros of DIY Installation
- Cost savings on labor: Professional installation can cost $500-$2,000 or more, depending on the complexity
- Flexibility in scheduling: Complete the project at your own pace
- Personal satisfaction: The pride of completing a major home improvement project
- Complete control over the installation process: Design the system to your exact preferences
Cons of DIY Installation
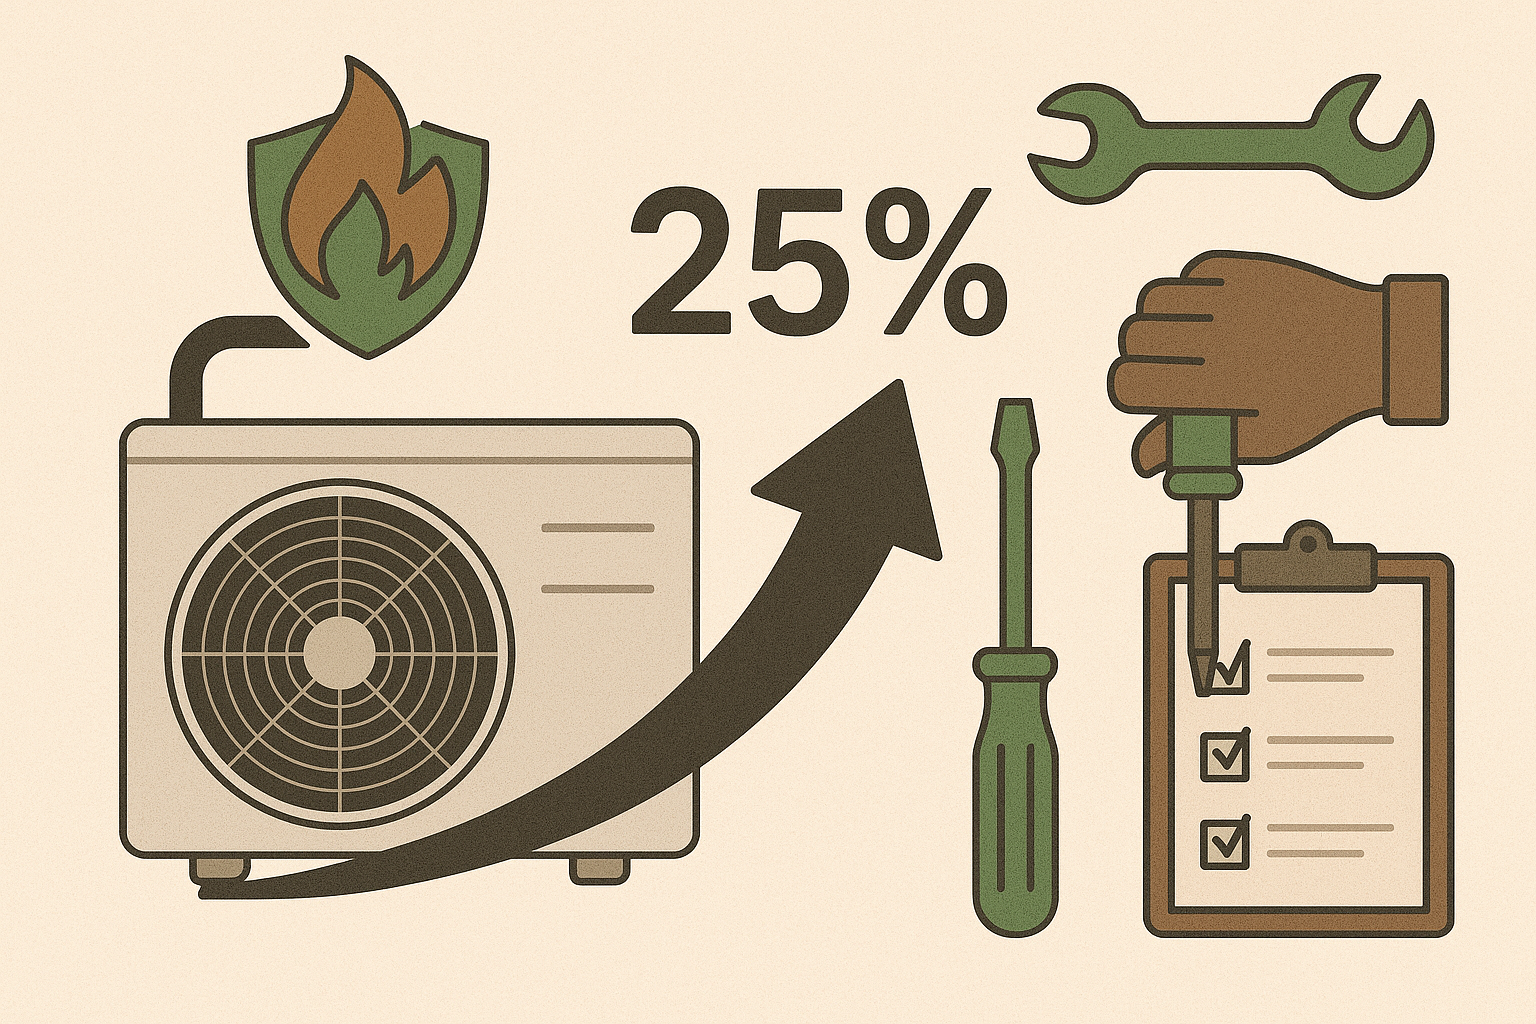
- Risk of improper installation: Efficiency losses of 30% or more if not installed correctly
- Potential to void manufacturer warranties: Many manufacturers require professional installation
- Safety concerns: Working with electrical systems and, in some cases, refrigerant
- Limited support if problems arise: Many contractors are hesitant to work on DIY installations
- Permit and code compliance challenges: Navigating local requirements can be complex
- Possible disqualification from rebates: Some incentive programs require professional installation
Professional Heat Pump Installation
Professional installation involves hiring a licensed HVAC contractor to handle the entire installation process, from system selection to final testing and commissioning.
When Professional Installation Is Recommended
Professional installation is strongly recommended in these scenarios:
- You're installing a ducted heat pump system that connects to existing ductwork
- You're converting from a different heating system (like oil, gas, or electric resistance)
- You have limited experience with home improvement projects
- You want to ensure warranty coverage from the manufacturer
- You want to qualify for all available rebates and incentives
- You're installing in a region with extreme temperatures where proper sizing is critical
Pros of Professional Installation
- Proper sizing and system selection: Professionals perform load calculations to ensure the right capacity
- Warranty protection: Maintain full manufacturer warranty coverage
- Code compliance: Professionals handle permits and ensure all work meets local codes
- Efficiency optimization: Proper installation ensures the system operates at peak efficiency
- Ongoing support: Relationship with contractor for future maintenance and troubleshooting
- Safety: Eliminates risks associated with electrical work and refrigerant handling
- Time savings: Typically completed in 1-2 days versus potentially weeks for DIY
Cons of Professional Installation
- Higher upfront costs: Labor typically adds $500-$2,000+ to the project cost
- Scheduling constraints: Working around contractor availability
- Quality varies: Results depend on the skill and experience of the installer
- Less control over specific details: You're relying on the contractor's expertise and recommendations
DIY Heat Pump Installation: What You Need to Know
If you're seriously considering the DIY route, here's what you should understand before proceeding:
Skills Required for DIY Installation
To successfully install a heat pump yourself, you should be comfortable with:
- Electrical work: Understanding circuit breakers, wiring, and electrical safety
- Basic carpentry: Mounting units securely to walls, floors, or concrete pads
- Using hand and power tools: Drilling, cutting, and fastening
- Reading and following technical instructions: Manufacturer installation guides can be complex
- Problem-solving: Troubleshooting issues that inevitably arise during installation
- Physical labor: Heat pump components can be heavy and installation often requires working in awkward positions
Tools and Equipment Needed
A typical DIY heat pump installation requires:
- Drill and bits: For mounting brackets and creating holes for refrigerant lines
- Hole saw: For creating clean openings through walls
- Stud finder: To locate secure mounting points
- Level: To ensure proper unit alignment
- Tape measure: For precise placement and line length
- Electrical tools: Wire strippers, voltage tester, screwdrivers
- Vacuum pump: For non-pre-charged systems (specialized HVAC tool)
- Manifold gauge set: For non-pre-charged systems (specialized HVAC tool)
- Torque wrench: For properly tightening refrigerant line connections
DIY-Friendly Heat Pump Options
Some heat pump systems are more DIY-friendly than others:
- MRCOOL DIY Series: Specifically designed for homeowner installation with pre-charged lines
- Pioneer Mini Split Systems: Offer DIY-friendly kits with detailed instructions
- Senville LETO Series: Includes pre-charged lines and DIY-oriented installation guides
- Klimaire KSIA Series: Features pre-charged line sets for easier installation
Step-by-Step DIY Process Overview
While specific steps vary by manufacturer and model, here's a general overview of the DIY installation process for a ductless mini-split heat pump:
- Planning and preparation: Determine optimal locations for indoor and outdoor units
- Mounting the indoor unit bracket: Secure to wall studs in your chosen location
- Drilling the wall penetration: Create a hole for the refrigerant lines and condensate drain
- Running the line set: Connect the pre-charged refrigerant lines between units
- Installing the outdoor unit: Place on a stable pad or wall-mounted bracket
- Making electrical connections: Connect power to the outdoor unit and communication wires between units
- Installing the condensate drain: Ensure proper drainage away from the building
- Testing the system: Power up and verify proper operation
- Sealing penetrations: Weatherproof all wall openings
Professional Heat Pump Installation: Finding the Right Contractor
If you decide professional installation is the right choice, selecting a qualified contractor is crucial for a successful project.
How to Find Qualified Heat Pump Installers
Start your search for a qualified installer through these channels:
- Manufacturer websites: Many heat pump manufacturers maintain lists of certified installers
- Online directories: Sites like HomeAdvisor, Angi, or Thumbtack can connect you with local contractors
- Utility company programs: Many utilities maintain lists of approved contractors for rebate programs
- Referrals: Ask friends, family, or neighbors who have recently installed heat pumps
- Local renewable energy organizations: Often maintain lists of qualified heat pump installers
Questions to Ask Potential Contractors
When interviewing potential installers, ask these important questions:
- How many heat pump systems have you installed? (Look for significant experience)
- Are you specifically experienced with the brand/type of system I'm considering?
- Do you perform Manual J load calculations to properly size the system?
- Are you licensed, bonded, and insured in this jurisdiction?
- Will you pull all necessary permits for the installation?
- What warranties do you offer on your labor? (Separate from manufacturer warranties)
- How do you handle service calls if issues arise after installation?
- Are you familiar with local rebate programs and can you help me qualify?
- Can you provide references from recent heat pump installations?
- Will you provide a detailed written estimate before beginning work?
Red Flags to Watch For
Be cautious of contractors who:
- Provide estimates without visiting your home or performing load calculations
- Suggest significantly oversized systems (bigger is not better with heat pumps)
- Cannot provide proof of license and insurance
- Offer unusually low prices compared to other quotes
- Pressure you to decide immediately
- Have poor or limited online reviews
- Cannot provide references from similar projects
- Require large deposits (more than 30% is unusual)
- Are unfamiliar with local rebate programs
What to Expect During Professional Installation
A professional heat pump installation typically follows this process:
- Initial consultation and home assessment: The contractor evaluates your home and heating/cooling needs
- Load calculation and system sizing: Determining the appropriate capacity for your specific home
- Equipment selection and proposal: Recommending specific models and providing a detailed quote
- Permit acquisition: Handling all necessary paperwork with local authorities
- Installation day preparation: Protecting floors, furniture, and clearing work areas
- System installation: Typically takes 1-2 days depending on complexity
- System commissioning and testing: Verifying proper operation and making adjustments
- Owner education: Teaching you how to operate and maintain your new system
- Final inspection: Often required by local building departments
- Rebate paperwork: Completing any documentation needed for incentive programs
Cost Comparison: DIY vs. Professional Installation
Understanding the true cost difference between DIY and professional installation can help inform your decision.
DIY Installation Costs
- Equipment cost: $1,500-$5,000+ depending on capacity and features
- Additional tools: $100-$500 if you don't already own them
- Permits: $50-$300 depending on your location
- Miscellaneous supplies: $100-$200 for electrical, mounting, and sealing materials
- Your time: Typically 1-3 days for first-time installers
Professional Installation Costs
- Equipment cost: Same as DIY, $1,500-$5,000+
- Labor: $500-$2,000+ depending on system complexity and local rates
- Permits: Usually included in the contractor's price
- Additional materials: Included in the contractor's price
- Potential extras: Electrical upgrades, ductwork modifications, etc.
Long-Term Cost Considerations
When evaluating costs, consider these long-term factors:
- Energy efficiency: Professional installation typically results in 10-25% better efficiency
- System longevity: Properly installed systems often last 3-5 years longer
- Maintenance costs: Improperly installed systems may require more frequent repairs
- Warranty coverage: Professional installation preserves manufacturer warranties
- Rebate eligibility: Many rebates require professional installation
Impact on Rebates and Tax Credits
Your installation choice can affect your eligibility for financial incentives.
Federal Tax Credits
The federal tax credit of 30% up to $2,000 for qualifying heat pumps (available through the Inflation Reduction Act) generally does not specify installation requirements. However, the system must meet efficiency requirements that might be harder to achieve with improper DIY installation.
State and Utility Rebates
Many state and utility rebate programs have specific requirements:
- Professional installation by licensed contractors is often required
- Contractor certification in specific programs may be necessary
- Proper sizing documentation may need to be submitted
- Pre and post-installation inspections might be required
Always check the specific requirements of any rebate programs in your area before deciding on DIY installation.
Making Your Decision: DIY or Professional?
To help you make your final decision, consider these key factors:
Choose DIY If:
- You have significant experience with similar home improvement projects
- You're installing a ductless mini-split with a DIY-friendly kit
- You're comfortable with basic electrical work
- You're working with a tight budget and labor savings are crucial
- You're not depending on rebates that require professional installation
- You have time to research, learn, and complete the project properly
Choose Professional Installation If:
- You're installing a ducted system or complex multi-zone setup
- You want to ensure maximum efficiency and performance
- Manufacturer warranty coverage is important to you
- You want to qualify for all available rebates and incentives
- You value the peace of mind that comes with professional work
- You don't have experience with similar projects
- Your time is limited or valuable
Conclusion
Whether you choose DIY installation or hire a professional, a heat pump can provide efficient, comfortable heating and cooling for your home while reducing your carbon footprint. The right installation approach depends on your specific circumstances, skills, and priorities.
If you opt for DIY, take the time to thoroughly research your specific system, follow manufacturer instructions precisely, and don't hesitate to call in professional help for aspects beyond your comfort level, particularly electrical work.
If you choose professional installation, invest time in finding a qualified, experienced contractor who specializes in heat pump systems. The additional upfront cost typically pays dividends through improved efficiency, reliability, and peace of mind.
FAQs About Heat Pump Installation
Q: How long does heat pump installation take? A: Professional installation typically takes 1-2 days. DIY installation can take 2-5 days for first-time installers, depending on experience level and system complexity.
Q: Do I need special permits to install a heat pump? A: Yes, most jurisdictions require electrical and mechanical permits for heat pump installation. Professionals typically handle this paperwork for you.
Q: Can I install a heat pump if I have no existing ductwork? A: Absolutely! Ductless mini-split heat pumps are perfect for homes without existing ductwork and are often the easiest systems for DIY installation.
Q: Will DIY installation void my warranty? A: It depends on the manufacturer. Some explicitly require professional installation to maintain warranty coverage, while others (especially those selling DIY kits) do not.
**Q: How much can I save with DIY install (Content truncated due to size limit. Use line ranges to read in chunks)